Posts Tagged ‘Art materials’
Wednesday, October 14th, 2015
Experimentation & New Free Tutorials Page.
My blog updates have been scarce lately, as, Ive been studying a couple of arts business and creative courses. This week I created a new “Free Tutorials” page, where I share some of my favorite, creative ideas and things to do.
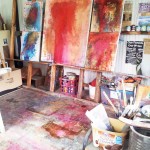
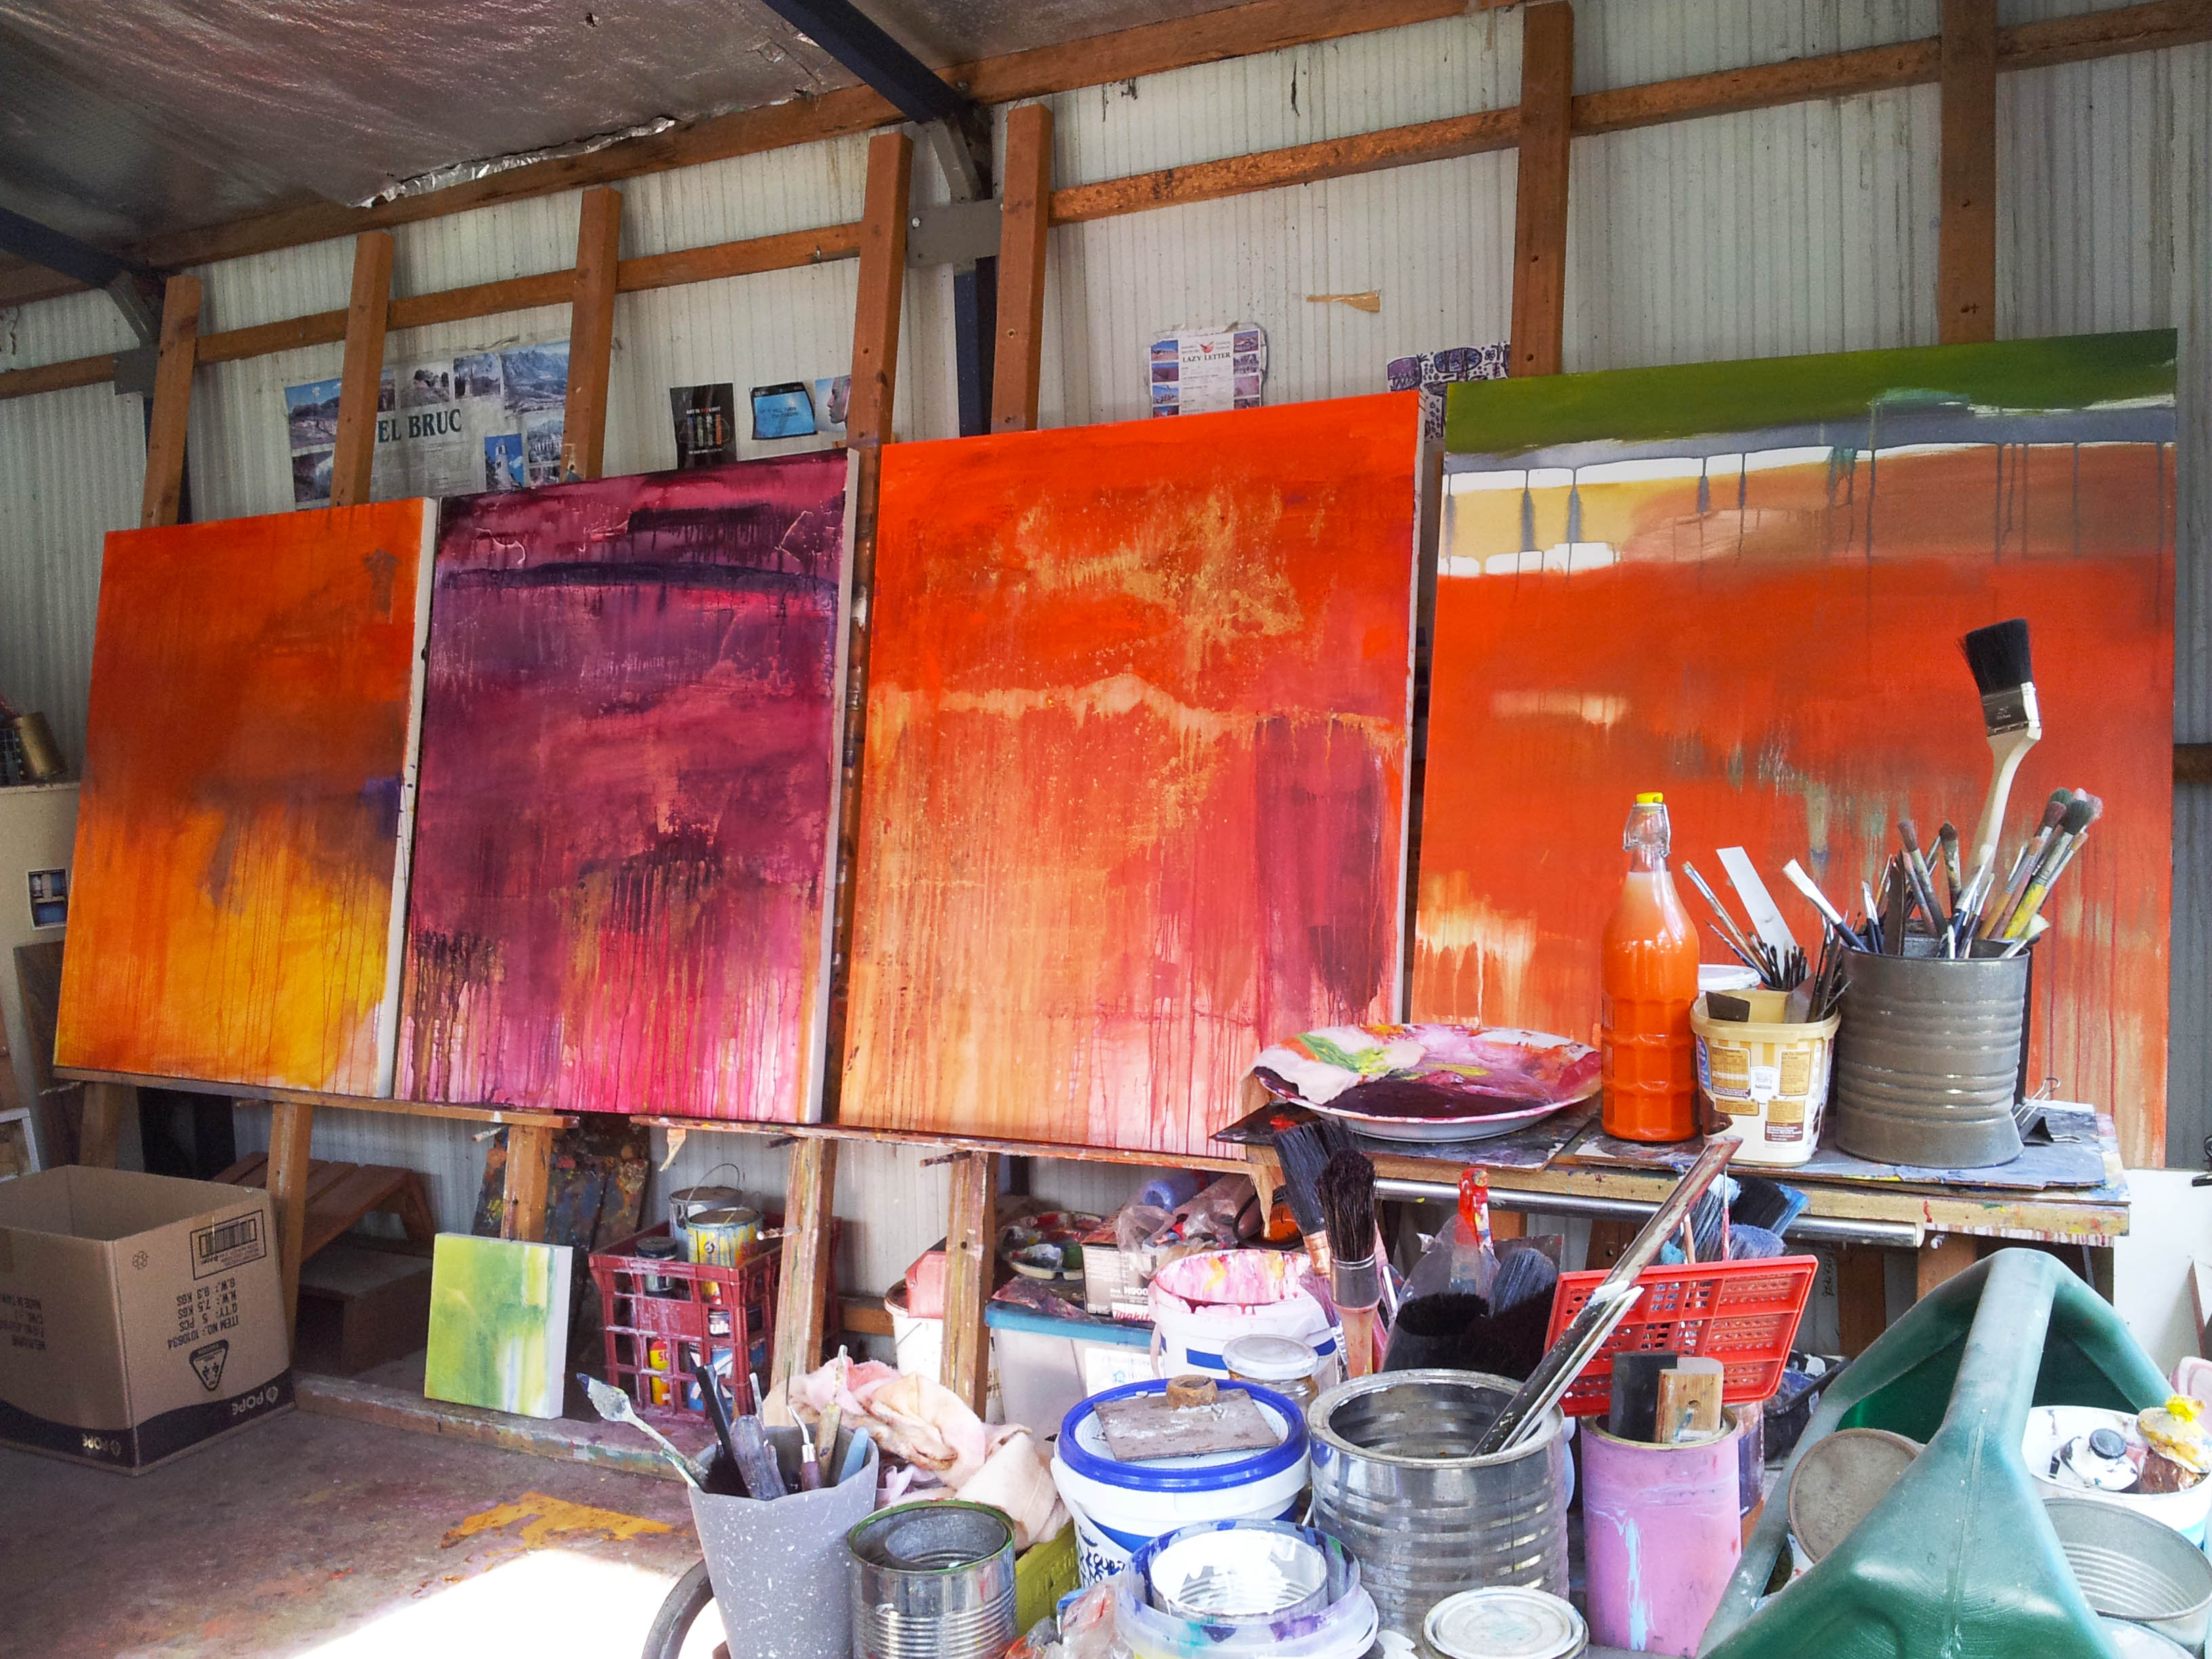
I’ve also, been experimenting with shellac and acrylic paints in the studio
and plan to create some textile and sculpture pieces too.
After working on many creative projects and group exhibitions, here and overseas, the past couple of years
I really think it’s time, to get back into a gallery and start exhibiting again in 2016.
So, I’m looking for suitable spaces in Melbourne or Sydney, that aren’t too expensive.
My favourite thing to make, at Free Tutorials is my large studio easel. I created it when I built my studio in 2000. I wanted something big, so I could work on many paintings at once. It’s a bit slap happy, (I’m no carpenter) but, works perfectly for me.
Tags: abstract art, abstract painting, Art materials, art studio, artist jenny davis, mixed media, outlook8studio, Painting, work in progress
Posted in paintingoncanvas | No Comments »
Friday, June 26th, 2015
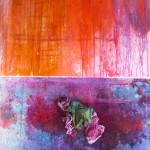
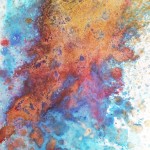
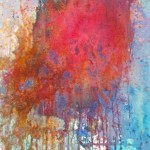
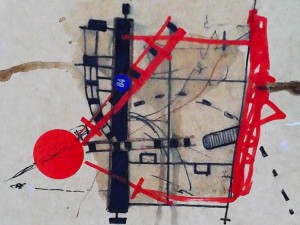
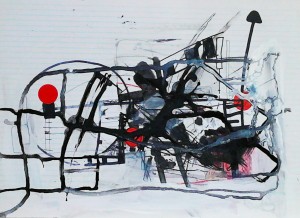
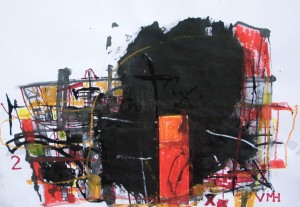
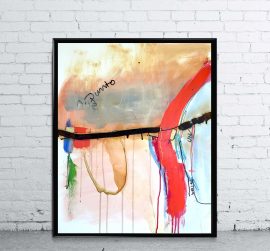
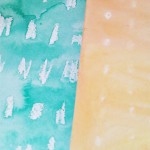
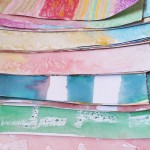
Gestural Acrylic Paintings. Mixed Media on Canvas.
Mixed media on gallery stretched canvas.
Acrylic paint & oil pigments.
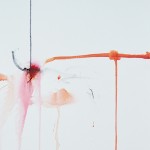
Spontaneous gestural marks
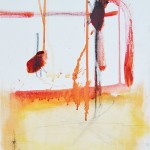
with a play of colour
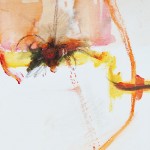
and forgotten marks
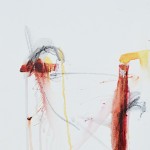
on gallery stretched canvas.
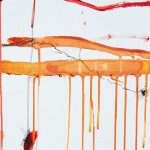
Landscapes of traces
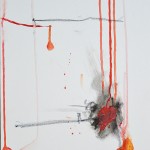
left behind
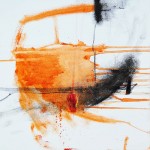
in the environment
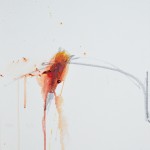
and mind.
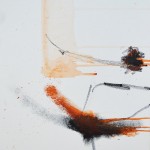
Each painting measures, 40cm. x 30cm. x 4cm.
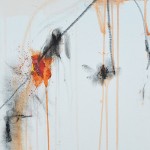
Year completed, 2015
Tags: abstract art, abstract art, abstract painting, abstract painting, acrylic painting, Art materials, artist jenny davis, mixed media, mixed media, outlook8studio, Painting, Painting, work in progress, work in progress
Posted in Uncategorized | No Comments »
Sunday, March 1st, 2015
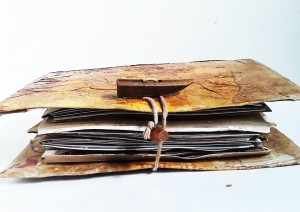
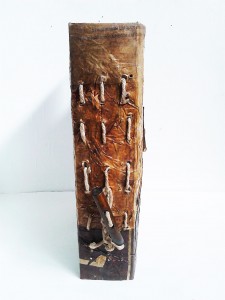
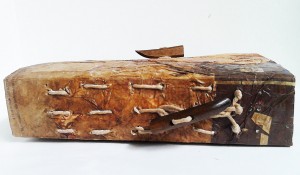
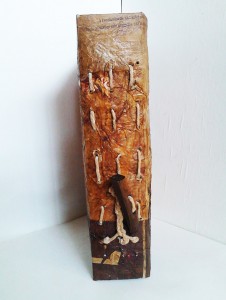
Follow-up from a previous post Old clothes. Recycling. Art Making.
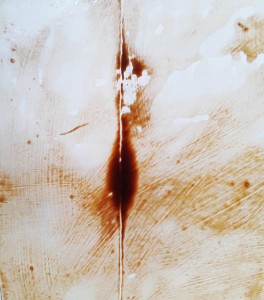
Playing with textiles, wax and trying to work out my new camera.
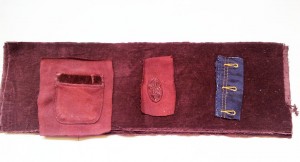
De-constructing a man’s suit.
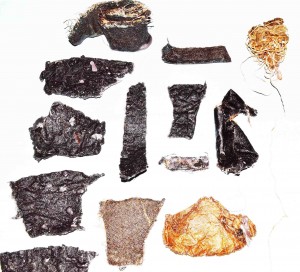
Wafers of wax, felt & linen
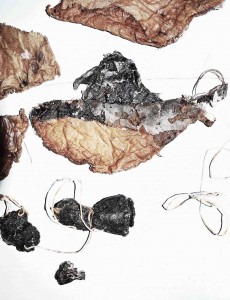
Specimens to play with flesh- like

Waxed string twined
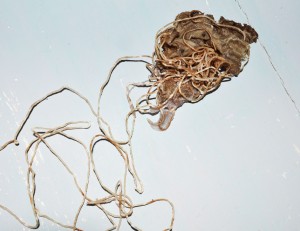
Spirals
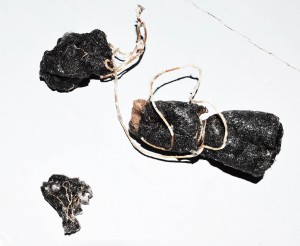
Hand- sewn surface marks
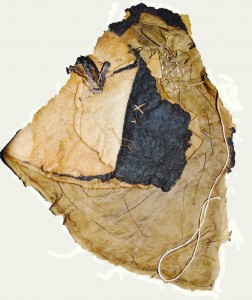
Links to Joseph Beuy’s felt works and underground spaces seen in Paris

Similar to scientific or, geological specimens from an antique book
Tags: Art materials, Art Projects, felt, inspiration, jenny davis, joseph beuys, new camera, Paris, Recycling, recycling, textile art, wax, work in progress, work in progress
Posted in felt&wax, joseph beuys, new project, Paris, textiles, Uncategorised | 1 Comment »
Monday, February 9th, 2015
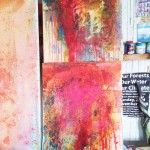
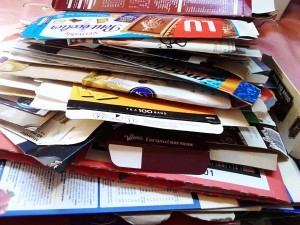
Before, I throw anything away, I like to see if I can use it in my creative ideas. Not only am I dealing with issues concerning, over- consumption, re- cycling & renewing, I also love using the found material and always have a ready supply of art materials available.
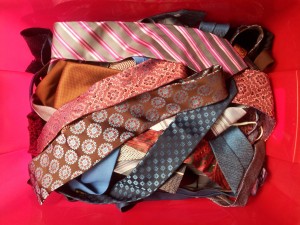
Recently, I acquired a large amount of men’s ties, I’m pulling apart, to create abstract paintings.

I also have 3 wardrobes of old clothing, I’m slowly, using to make textile art pieces, books and more. The physical act of pulling apart and de-constructing my own clothing, connects me to the textures, memories and history of the piece. The materials are then, made into new ideas, re- introduced and re- valued.
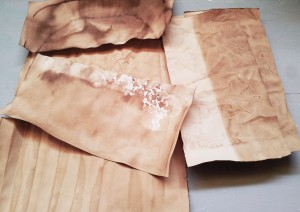
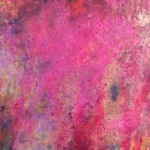
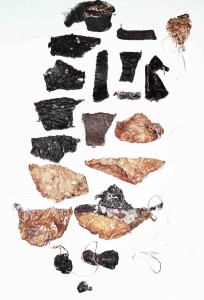
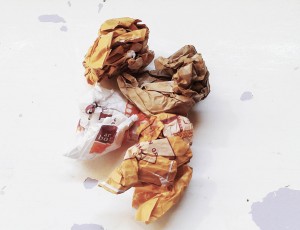
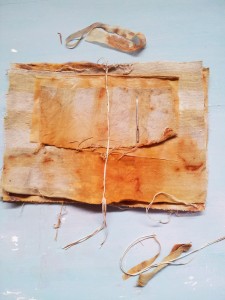
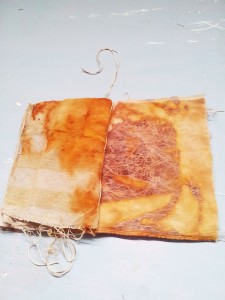
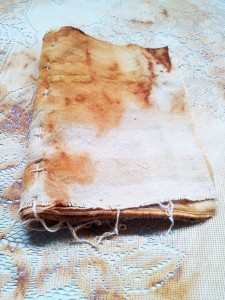
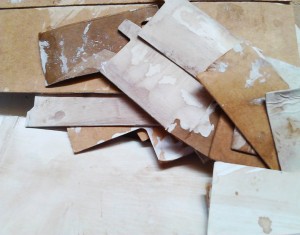
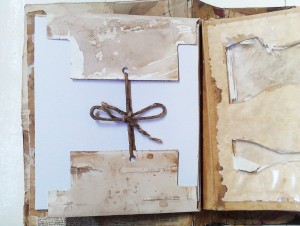
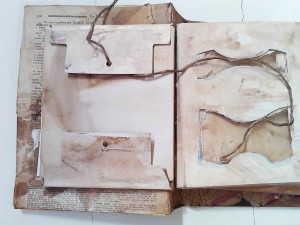
Paper packaging, used coffee filters, table napkins and clothing dyed and baked in coffee, tea and rust
Vintage jumpers, jeans and shirts, torn and cut ready for book-making and other projects

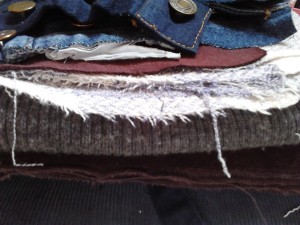
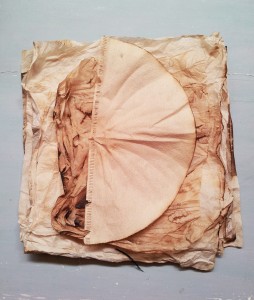
Artwork in progress using scraps of vintage sheer curtain and upholstery material, rust dyed.


Tags: abstract painting, Art Books, Art materials, artist books, artist books, coffee filter, collecting, fabric scraps, handmade books, old clothing, packaging, recycled art, recycling, Recycling, textile art, work in progress, work in progress
Posted in discarded, handmade books, packaging, reuse, Uncategorised | No Comments »
Sunday, August 31st, 2014
My 10 quick thoughts on creating original collage.
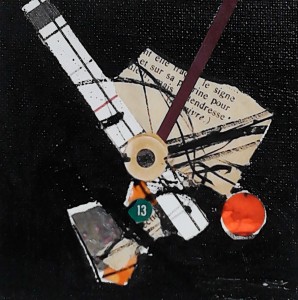
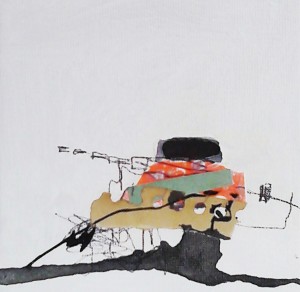
“13 pour” Jenny Davis
1. Just when you think you’ve got it licked, it can change, by adding one tiny piece of paper, or mark.
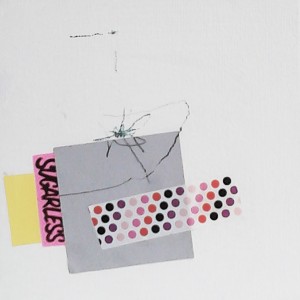
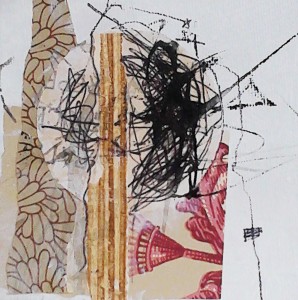
“Bitter Interception” Jenny Davis
2. Collage can’t be controlled, trust in the doing.
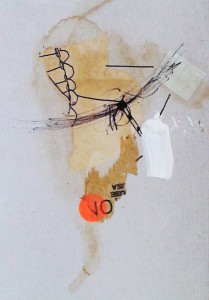
“No” Jenny Davis
3. If you don’t like something tear it off, paint or paste over it.
“Generous Nation” Jenny Davis
4. By elimination, breaking and tearing to restructure the work, you can open up a new vision.
“Clash 3” Jenny Davis
5. Text adds interest and throws it off again. Do you take it literally, or as a design element?
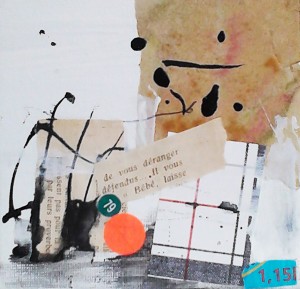
“De’ranger” Jenny Davis
6. Working on the whole collage at once and not just in one area, is more satisfying.
“Clash” Jenny Davis
7. Elements of design come into play too. Colour, shape, texture, line and form.
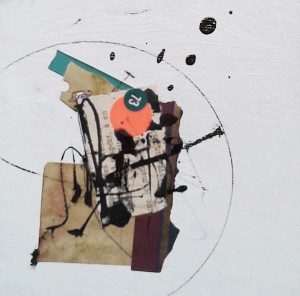
“84” Jenny Davis
8. When creating collage, I use the same cognitive process as when painting.
“Torn” Jenny Davis
9. It’s all about trusting the creative process, your intuition, taking risks and challenging yourself.
“Paris Burning” Jenny Davis
10. It’s also heaps of fun expressing yourself in this way!
Back to “Free Tutorials”
Tags: abstract art, abstract art, abstract collage, art collage, Art materials, artist jenny davis, collage, Collage, collage art, contemporary art, design, found papers, handmade, handmade collage, inspiration, jenny davis, mixed media, mixed media, original collage, original collage, Recycled art, Recycling
Posted in collage ideas, creating with paper, fabric collage, ideas, paper collage, reuse, Uncategorised | No Comments »
Saturday, August 23rd, 2014
Experimenting today with sun prints using coffee and the sun
Vintage damaged cloth stretched over wooden frames with French flourish stamping
Tattered antique French doilies placed on top of stretched cloth
Using the doilies as a stencils spray with coffee and vinegar diluted in hot water and leave under the sun for an hour or so
Resulting in subtle ghostly images embedded for further embellishment later
Iron each image 3 mins. to make colour fast
Tags: Art materials, Art Projects, coffee printing, handmade, how to, how to make sun prints, inspiration, printing, sun printing, sun prints, tutorial, vintage textiles
Posted in Uncategorised | No Comments »
Monday, April 14th, 2014
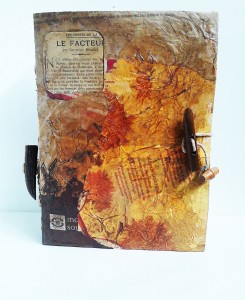
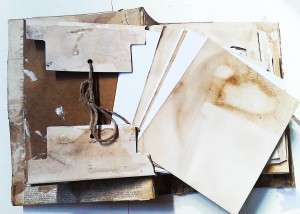
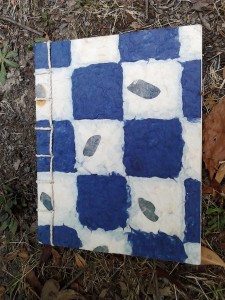
I love to recycle packaging, junk mail and advertising materials into books
I like the freedom of designing my books as I make them, discovering ideas along the the way
Its amazing how much packaging can be saved over time

For this book I used cereal packaging with a peephole and pasta boxes with acetate windows for the interior pages
and sealed the pages with white Gesso
only on one side because I liked the dark look of the cardboard ( later I painted them with Parisian essence to age )
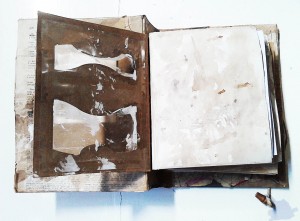
On the cover I used double sided tape to stick down the tabs
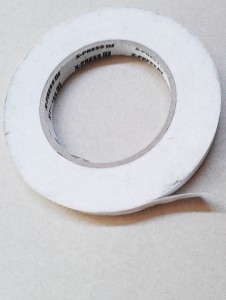
to make it more sturdy
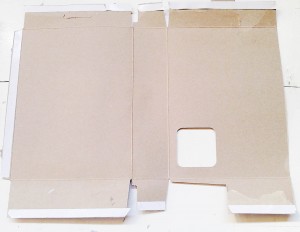
The little window will have something inside
Taking a load of baguette bags I bought back from France
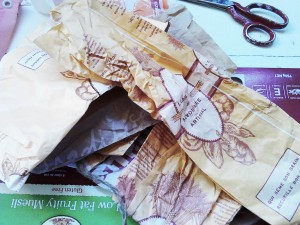
I scrunched them up into balls and wrinkled them
opened them up and stuck them to the cover packaging with pva glue
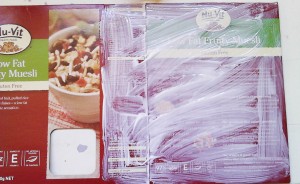
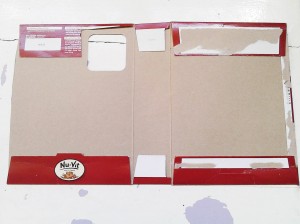
This gave the cover an oldish feel with a lovely rough texture.French text shows through the window
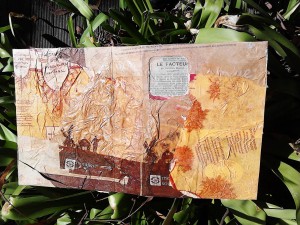
I covered the inside with some French text from a 1900’s magazine, stamping and my hand drawn doodle drawings.
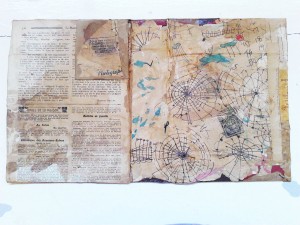
I didn’t like the brightness of the gessoed pages so aged them with washes of Parisian essence
When dry I cut off some of side flaps from the inside pages saving them for tags and pockets later
I didn’t have an awl to make the holes for binding the book, instead I used a hammer and nail. It worked fine
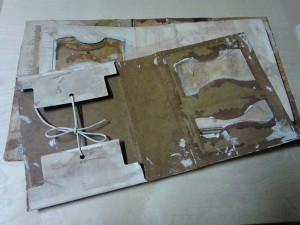
I punched 3 rows of holes weaving in and out with cotton mop thread

leaving a tail inside I then plaited the threads and added a piece cardboard for a bead thing
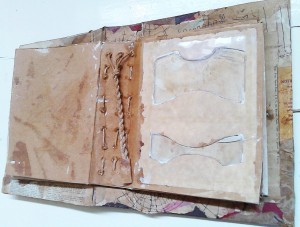
The extra holes seen were a mistake and can be covered up with more baguette paper and glue later
Side flaps on some of the pages hold piles of water colour papers for collage and drawing
They are tied with cotton mop thread
The loose water colour papers are white and hand dyed with Parisian essence
See through windows add more interest
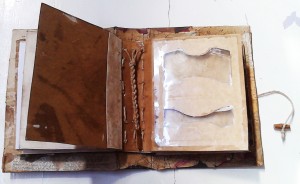
Pockets and string hold found papers and tags. The book is still not finished and I will probably add more tags and pockets
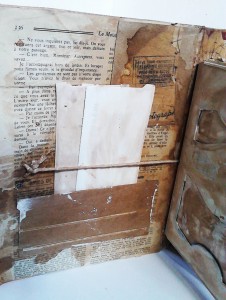
Toggles were sewn on the front with a string to close

This book has a Japanese feel to it and measures 24 x19cm. 5 pockets hold 40 pieces of water colour paper with another 12 pages. Some have windows.
I try to keep on top of my collecting by making something with the packaging every few weeks.
What do you make from your junk?
Tags: affordable art, Art Books, Art Books, Art materials, artist book, Artists books, blank handmade book, Books, collecting, contemporary artist Melbourne Australia, eco- friendly, French, handmade, handmade book, handmade books, handmade journal, handmade journal junk journal, how to, how to, Ideas, inspiration, jenny davis, junk book, packaging, Recycled art, Recycling, reusing junk, Street art, street litter, supplies, Uncategorised
Posted in Artists books, handmade books, packaging, street litter, Uncategorised | No Comments »
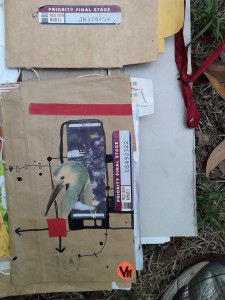
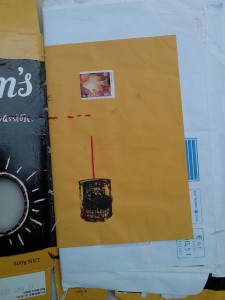
Wednesday, March 12th, 2014
Work in progress… Sculpture installation
Heat wave Melbourne. Australia. 11/02/2014

no electricity

moon space through glass windows

iphone in pocket

QR code tells more
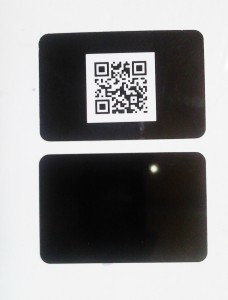
boxed up
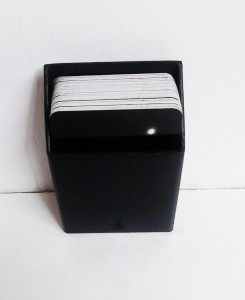
getting there
Tags: abstract art, abstract art, Art materials, artist jenny davis, astronomy, darkness, full moon, heat wave, inspiration, Installation, Installation, installation art, jenny davis, light, moon, outer space, outlook8studio, Photography, Photography, science, Sculpture, Sculpture, sculpture installation, sculpture installation, space, stars, technology, Uncategorised, weather, work in progress, work in progress
Posted in astronomy, moon, outer space, space, technology, Uncategorised | 2 Comments »
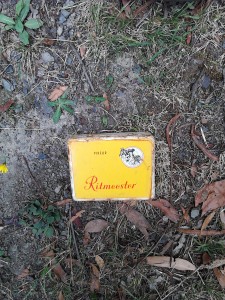
Saturday, March 8th, 2014
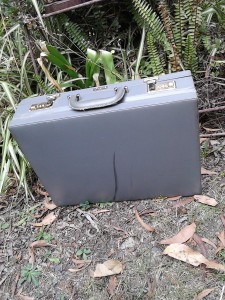
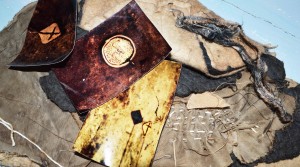
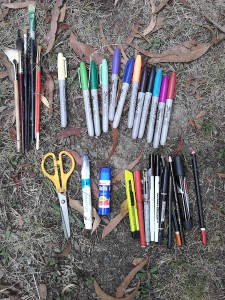
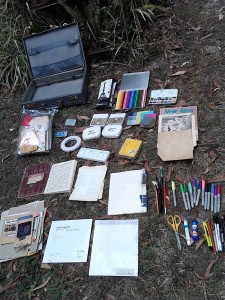
Wherever I go I like to have all my art materials in one place encase I need to jot down an idea, or for when I get that creative burst.
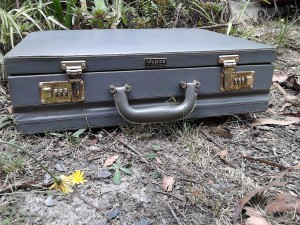
So, when I found this old case I knew exactly what I would do with it. I made myself a personal art kit for when I go out and about. I keep this case in my car and it goes everywhere with me. I also have a smaller kit for when I travel overseas. This kit is much lighter so I can collect art materials along the way
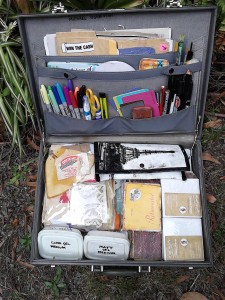
It has everything I need for drawing, painting, collage, photo transfer, stamping and writing
In Transit series of collages
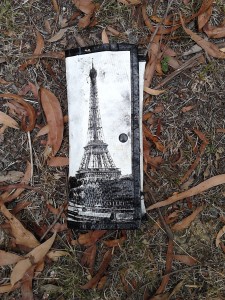
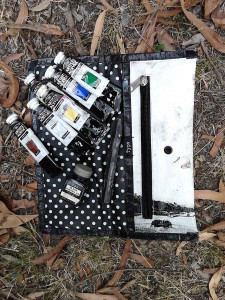
Acrylic paints and ink in a pouch my daughter gave me
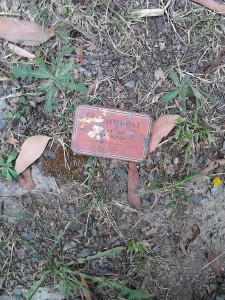
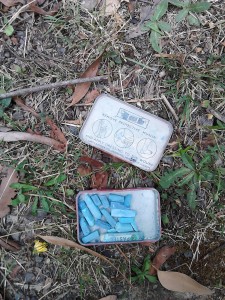
Chalk in a vintage medical tin
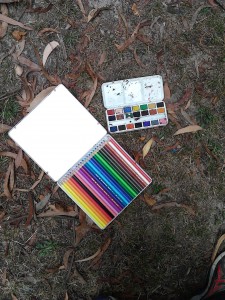
Water colour paints, coloured pencils and double sided tape

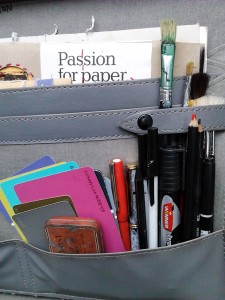
Brushes for painting, pens for drawing and writing, felt pens, graphite pencils, knife, scissors and glue stick for collage
Paint swatches

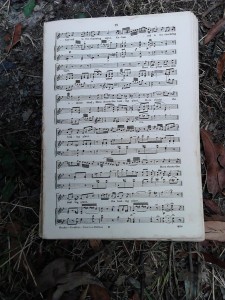
Collage papers in a plastic pouch. Mixed lot of vintage and newer papers
Hand- dyed coffee filters, vintage wallpaper, labels and book pages
Stained printed matter and newer papers
Old music prayer book
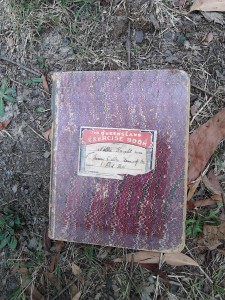
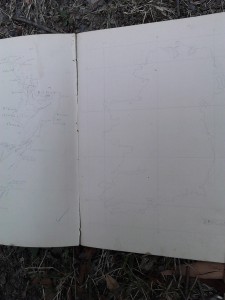
1932 school book full of hand drawn world maps
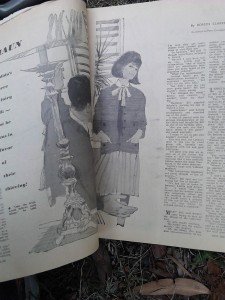
1960s New Idea magazine for cutting
Old advertising
Vintage encyclopeadia pages sealed with a layer of translucent gesso paint
A book of hand-made French paper
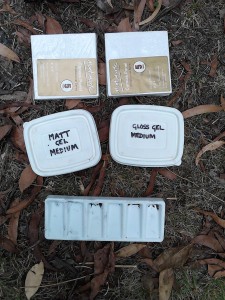
Small canvas boards and palette, matt and gloss medium for collage, painting & transfers
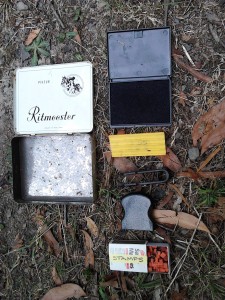
Mini stamping kit in old cigar tin
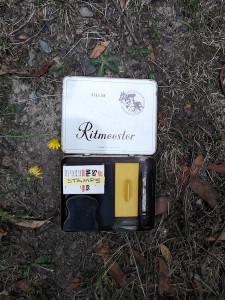
Stamp pad, tiny rubber text stamps in matchbox, stamp holder and tweezers
I also carry a selection of my hand made artist books in progress to work in.
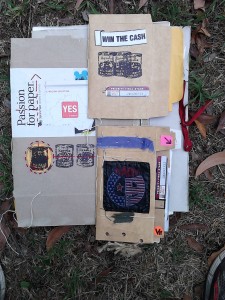
My books are made from found papers, junk mail, advertising
used envelopes, cereal boxes and food packaging

Embellished with used clothing labels, tags, stamps, stickers, pen ,ink and found fabric scraps

sewn with thread or wire and filled with whatever else I find in my travels
It’s amazing how much I can fit into the case
Do you have a portable art kit ? Whats in your art kit ?
See Jenny’s portfolio here
Back to “Free Tutorials”
Tags: abstract art, abstract art, Art Books, Art Books, art kit, Art materials, art on the go, art packing, art studio, art studio, art studio storage, artist kit, Artists books, ArtsBus, Collage, collage materials, collecting, collecting art materials, craft materials, creating, creating on the move, creative ideas, jenny davis, nomad art, outlook8studio, Painting, portable studio, Recycled art, Recycling, storage ides, studio, travel, travelling art kit, travelling artist, Uncategorised, vintage case ideas
Posted in art kit, artist kit, Artists books, ArtsBus, creating, nomad art, travel, Uncategorised | 2 Comments »
Thursday, January 16th, 2014
Update 2018! Since writing this recipe in 2014, Ive been using this homemade Gesso recipe, for 14 years now and haven’t had an issue, with ageing, layers coming apart, seepage, changes in colour etc. on any of my artworks. I use it with both oil and acrylic paints. I also seal my papers with it when, making books, sewing on paper, paper for collage, painting with paint, inks etc. As to the quality, I find the homemade isn’t as white, but just as good quality, as professional artists Gesso. I also use store bought gesso too, if I’ve run out and for convenience. My version is more gritty, than store bought, but if you sandpaper in between coats, I find it’s not an issue. For me, this recipe is just as good as, the store bought and if you use archival PVA/Elmers glue, it will make it all the more stable, for longevity.
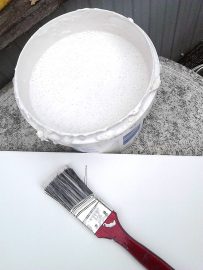
Homemade Gesso!
I love Gesso paint and use heaps of it in my work. It’s gritty, chalky and can be applied to artwork to give a translucent or opaque look. It’s also very expensive so I decided to make my own.

Gesso is used for many things such as a primer for canvas or on paper to give a good base for painting, drawing or mixed media work. When making collage I use it as a gluing medium to stick on papers, in-between, painting and drawing layers.
The recipe below makes 2 litres of Gesso paint
( If not using straight away, this Gesso will last approx. 4-6 weeks)
Homemade Gesso
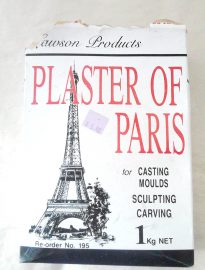
PLASTER MIX
1 cup Plaster of Paris or fine white plaster powder
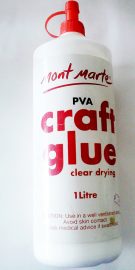
1 cup of PVA or white glue (archival if available)
1 cup hot water
PAINT
3 cups white acrylic paint
UTENSILS
Container, cup and mixing stick or spoon
RATIO: 1-3
Plaster Mix 1 – Acrylic paint 3
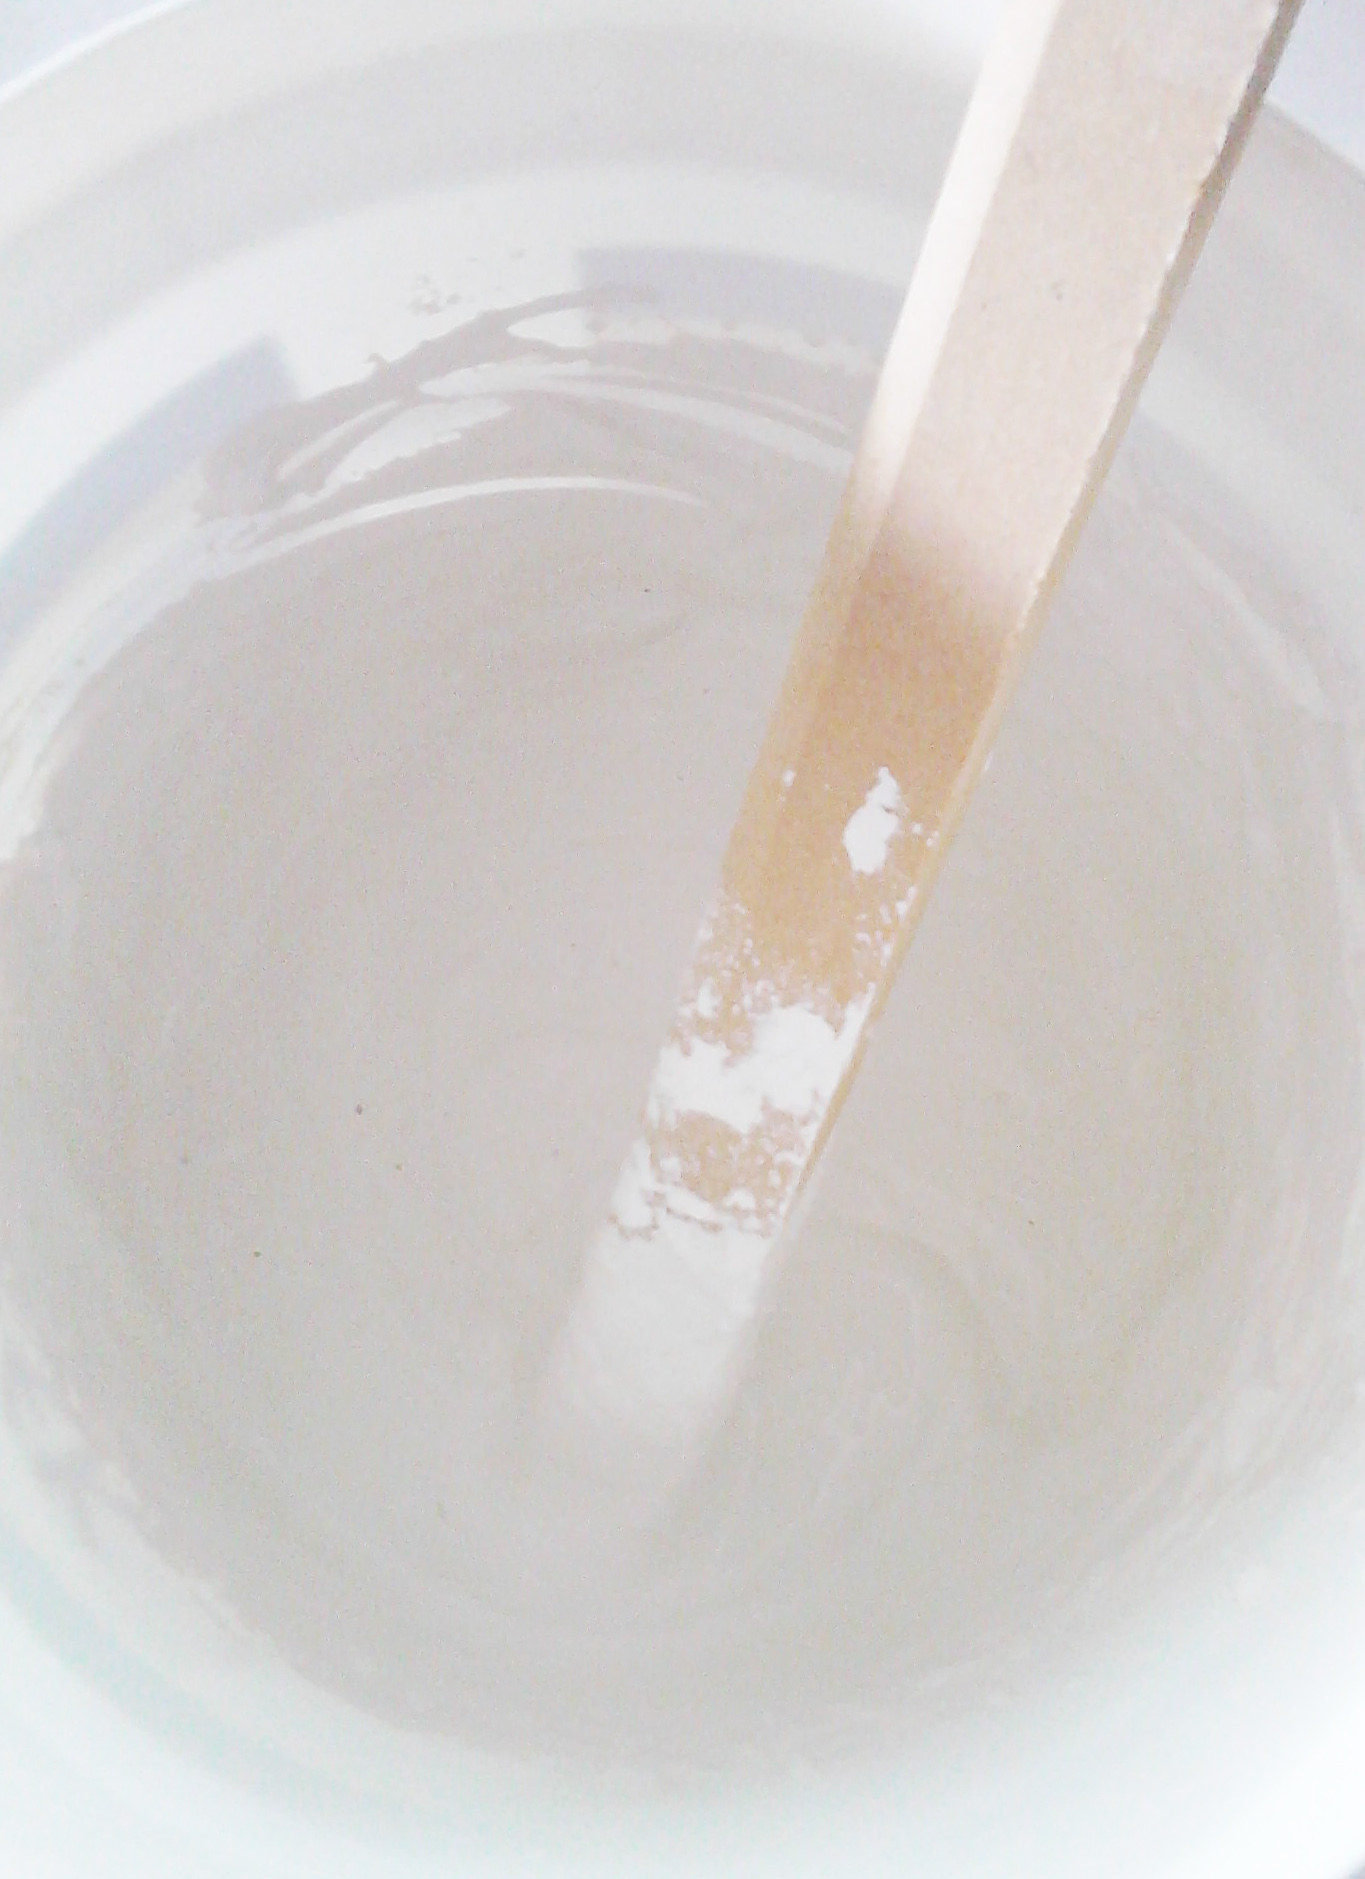
Method
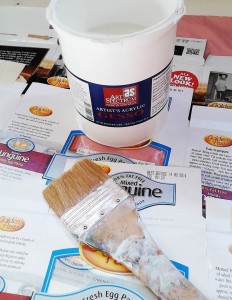
To make the plaster mix. Add the plaster to the hot water and stir ( Safety purposes: always add the plaster powder to the liquid, not liquid to plaster, as it will blow up into your face and always wear a dust mask)
Dust Mask
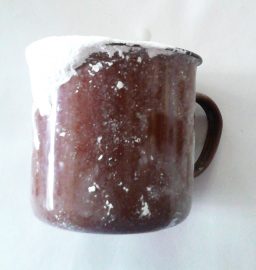
“Plaster of Paris” and cup
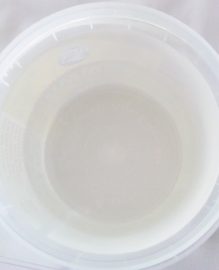
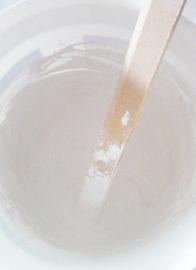
Hot water and mix
Next add the PVA or white glue, stir.
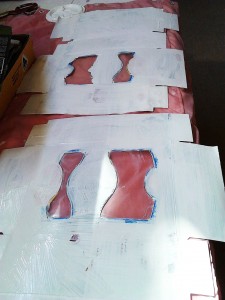
Finally add the white acrylic paint and mix. ( I used some acrylic powder paint I had and made it up with water) You can use any kind of acrylic paint or colour .
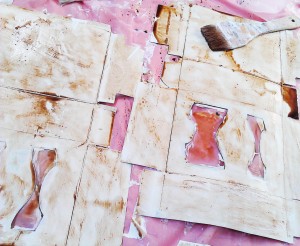
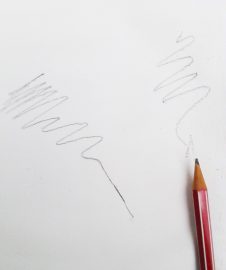
Result
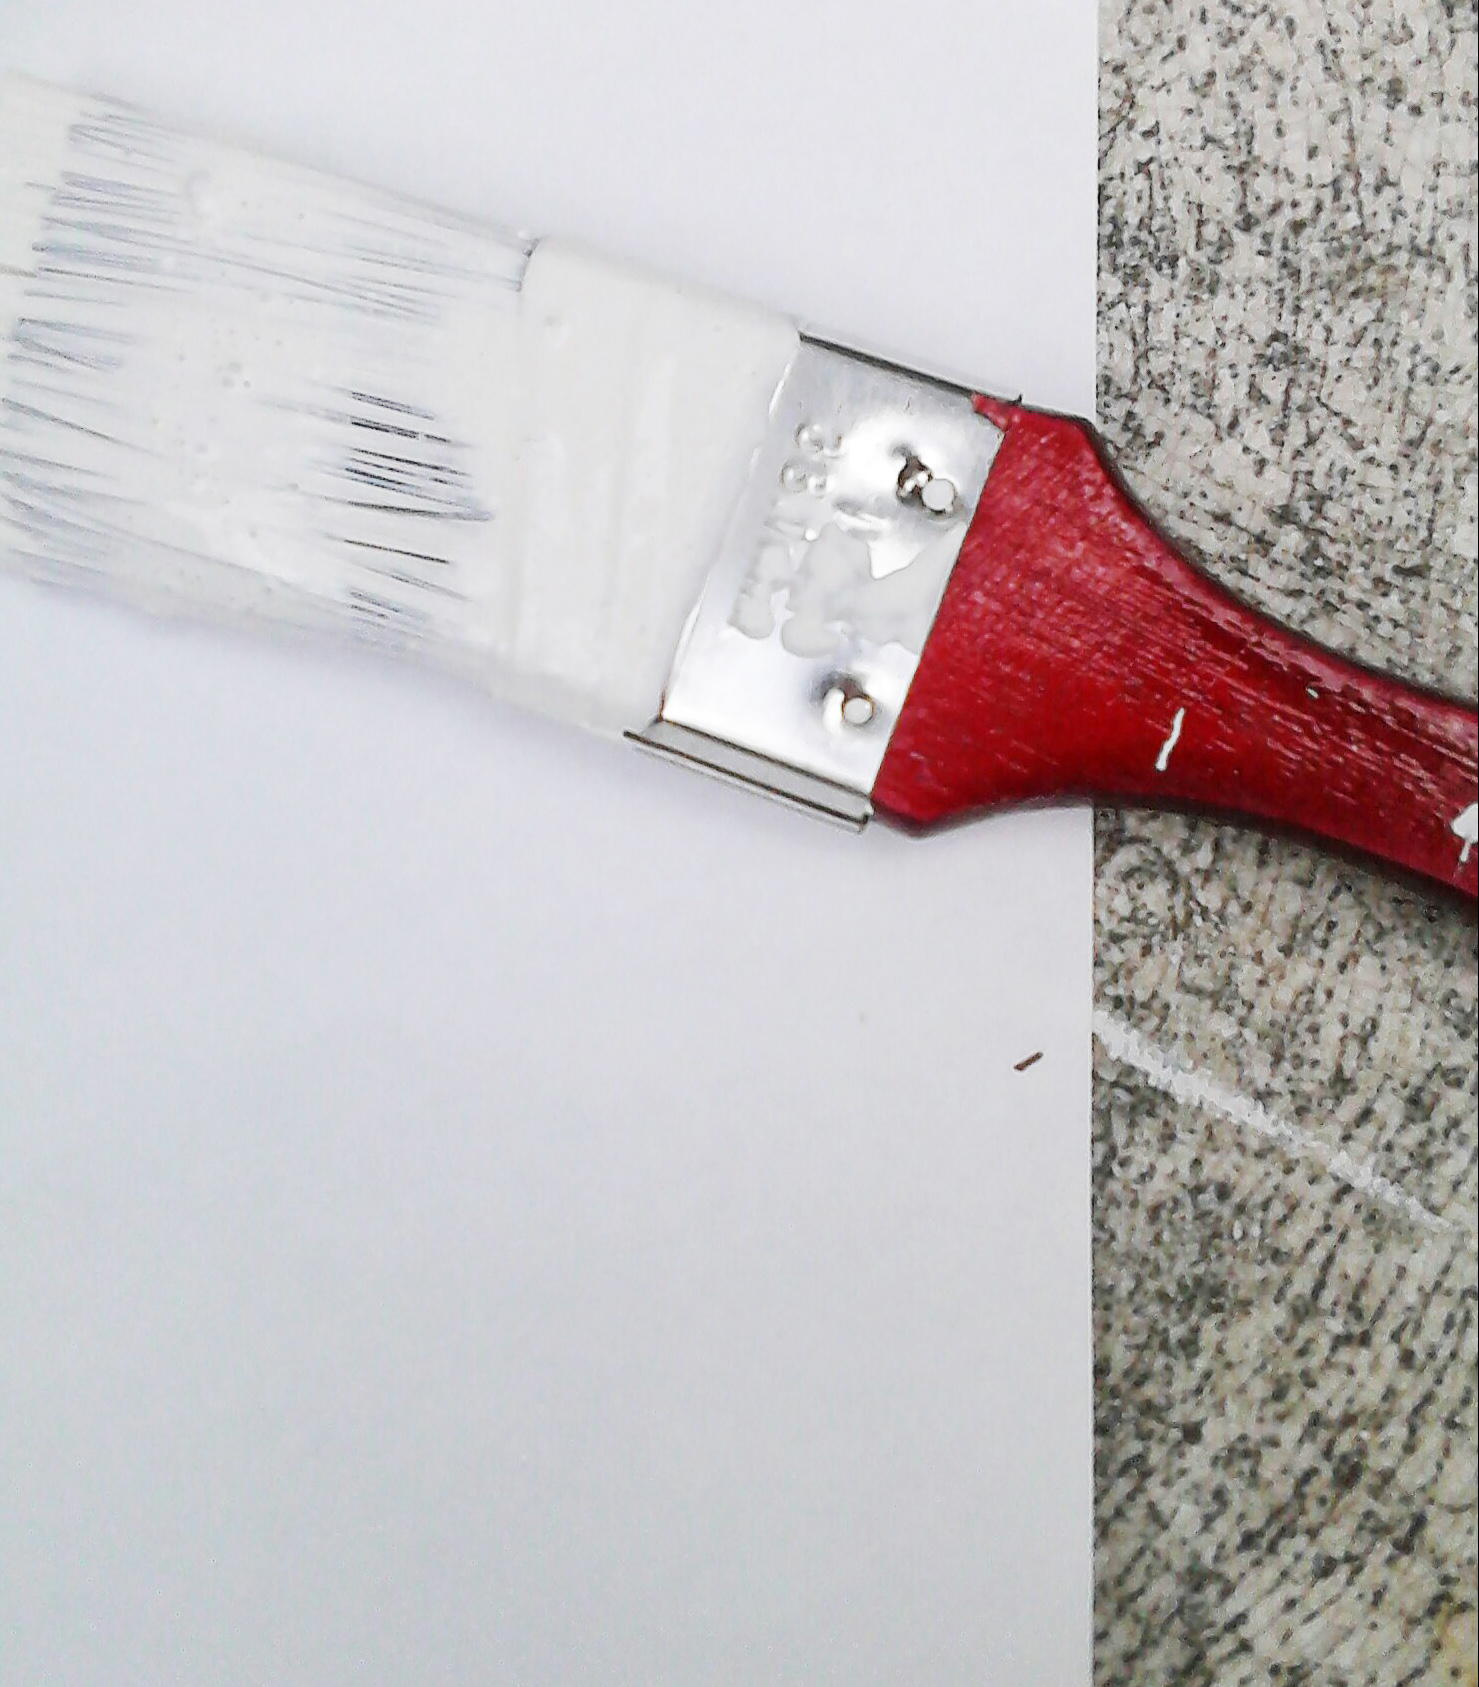
I was very happy with the result. The gesso is translucent with the gritty bits I like. You can also do several layers of gesso to give a more opaque appearance. It covered my canvas very well with only 1 coat. When adding more than 1 coat you can sand in- between to give a really smooth surface for detailed work .
2 litres of Gesso
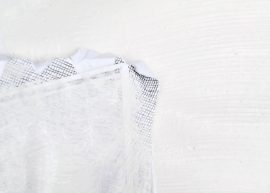
Gesso on stretched canvas

Gesso on paper
Update 2018! Ive been using this recipe for 14 years now and have had no issues with ageing , seepage. I use it with oil paintings and acrylic artworks. I also seal my papers with it when making books, sewing paper for collage, painting with paint, inks etc.
Tags: acrylic gesso, acrylic primer, Art materials, homemade gesso, how to, how to make gesso, How To's, mixed media, Painting, painting equipment, painting on canvas, Painting Techniques, pigments, supplies, tutorial
Posted in Tutorial | 37 Comments »
Tuesday, November 5th, 2013
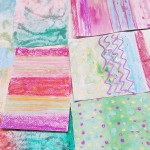
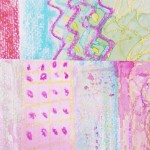
My first practical day of the “30 Days of Collage” by Stephanie Levy course.
It was Melbourne Cup Day so this was a good excuse for me to grab a (naughty snack attack) stash to help me along with my artplay day. I gathered all my paints , crayons, salt, tapes and began.
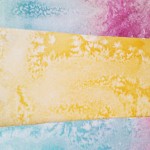
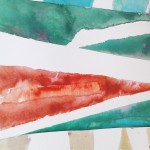
The first lot of images are the process using, paint with salt, glue , tape, pastel and more…The second lot of images are the finished result.
What a fun way to get a big bunch of gorgeous papers together for creating collage and books !
and a few more papers felt pen, masking tape and water
Tags: 30 days of collage, art class, Art materials, collage, collage course, collage sheets, collecting, craft materials, craft project, creating, decor, Decorating, decorating papers, design ideas, handmade, handmade collage papers, handmade journal, inspiration, painting papers, Recycling, reusing scraps, Stephani Levy collage papers, supplies, Uncategorized
Posted in creating | No Comments »
Monday, October 29th, 2012
Textural Surface Paintings I did in Spain.
In 2005 I was artist in residence at the Can Serrat International Art Center in Barcelona, Spain. During this time I completed several series of works; which developed as a result of solitary expeditions into the surrounding areas.

Textural oil paintings on linen, linked to ancient Catalan architecture.


My little paintings are rubbings from actual surfaces around the Barcelona, Spain.


Ancient markings weathered , subtle & chalky


I added colour to my work with pure powder pigments and oils, hand mixed in my studio.


See more of my artwork at Outlook8studio on Etsy
Tags: abstract art, abstract art, abstract sale, affordable art, Art, Art for sale, Art for sale, Art materials, art on linen, art studio, art studio, art studio spain, artist residency, artists studio, creative space, creative space, Jenny Davis, Painting, Painting, Painting Techniques, rubbings, Spain, Studio, Uncategorised, weathered art
Posted in Spain, Uncategorised | No Comments »
Wednesday, April 25th, 2012
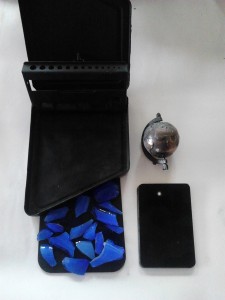
POCKET ART SERIES
Small one of a kind transportable patches of Abstraction ready to go…Compact pieces of art for people on the move. My pocket art pieces came about when I needed to transport artwork from country to country. They are small mixed media textile pieces connected to my love of abstraction textiles, text and street art.
Walking my way across the surface I use coloured wools and wires as I would my paintbrush or charcoal, adding, whatever interests me at the time including, advertising papers, cards and packaging from Paris

RUE PIERRE

OOH LA LA

HEARTS IN PARIS

TOURISTS
Each one is a tiny 3.5″x2.5″ – 9x7cm and they come snuggly displayed in a clear acrylic card holder
MATERIALS
Indigo blue denim
canvas cloth
wire
press stud
button
paris clothing label
originalParis stamp
Colored wools
found fonts
Acrylic sealer and more….
SIGNED and DATED by the artist
I really had fun creating these pieces and were created with a lot of care
Tags: aceo, Art materials, collecting, Craft, Craft for sale, craft project, Crafts, French, French inspired, packaging, Paris, reclaimed, Reclaimed art, recycled, Recycled art, Recycling, recycling art, reusing scraps, Textile craft, textiles, trash, Uncategorized
Posted in Craft, packaging, Paris, Reclaimed art, textiles | No Comments »
Saturday, February 4th, 2012


How to Make a Large Studio Easel in 6 Easy- Peasy Steps
When I built my studio years ago, I needed to have a versatile easel. I couldn’t find anything suitable in the shops and my budget wouldn’t allow for much. So, I went about creating one from my left over pieces of timber. I needed one that would take small to very large canvas’s all at once. I needed lots of space too. Being an abstract painter, I slosh paint and work very quickly, sometimes on many canvas’s at once. I wanted a permanent spac,e where I could work on small canvas’s 30x30cm up to very large ones 4 x 2 Meters . My easel ended up being 9 meters long x 4 meters high and after 12 years of daily use, my rough and ready easel is still going strong.
My simple Plan
Materials & Equipment
Cut yourself, or buy 2 equal lengths of hardwood or pine, however long you want the easel to be. This is for the floor and wall runner that will hold all the upright struts.
Cut yourself, or buy equal lengths of hardwood or pine for the uprights. Decide how many uprights you want to hold your canvas .To get the length of each piece , measure from floor to top wall at the angle you want the easel to be.
Bolts, nails or screws
Wooden dowel lengths of wood for pegs
Drill with a “spade” drill bit the same circumference as the dowel pieces you have
(Spade bits are used for rough boring holes in wood.)
Tape measure
Hammer
Drill
Method
1.Everything will need to be measured and cut for the area your are working on.
2. Grab the floor runner piece, lay it perpendicular to the wall on the floor, judging the best space between the floor runner and the wall . Screw, bolt or nail to the floor at intervals to secure. (Note) Remember to allow enough space from floor runner to wall for a slight angle for the upright pieces of wood so your painting canvas can to sit without falling

3. Grab the wall runner piece and screw, bolt or nail to the upper wall at intervals and make secure.

4. Lay all your upright pieces of wood together on a flat surface together (floor )and take your drill with the spade bit and make holes from bottom to the top on all the lengths of wood. The spacing has to be equal across the whole lot.
(If painting the easel do this now before attaching to wall)
5. Take your pre- cut lengths of wood with the holes and sit each one so the bottom is sitting behind the attached floor runner and at the top against the wall runner with the holes facing you. Screw bolt or nail the upright struts to the floor runner and to the wall runner at top. (Note) Go along the floor runner at whatever spacing you want with the upright struts to be.

Almost done. Cut lengths ( 6inches) of dowel for the pegs that will hold all your canvas’s

Note: If the pegs don’t fit in the holes… Round off one end with sandpaper by hand, or with an electric sander.
All done!!! Now grab your canvas and paint to your hearts content
Tags: abstract art, Art materials, art studio, artists studio, ArtsBus, creating, creative space, easel, how to, how to make a studio easel, How To's, jenny davis, large canvas easel, outlook8studio, Painting, painting easel, painting equipment, Recycling, studio, studio design, studio easel, Uncategorised
Posted in ArtsBus, creating, Uncategorised | 5 Comments »
Monday, October 31st, 2011


Layers layers layers. Did you know? many of my paintings, especially oil paintings, have layer upon layer of pigment and glazes. Each painting can take many hours,weeks even months to complete.
What is a Glaze?
A glaze combines two or more transparent layers of paint, which have been applied over an opaque underpainting. Each transparent layer builds on the ones under them, creating new colors and added richness depth and interest to a piece.
Rembrandt would paint in layers, building from the back of the painting to the front, by using coats of glazes. He would use at least 15 layers of transparent glazes in many of his paintings. That is why they seem to glow and emerge from the darkness of the background.
A few good sites to find out how to create glazes in your paintings
http://painting.about.com/od/oilpainting/a/glazing_FAQ.htm
http://painting.about.com/od/oilpainting/a/Glazing_Tips.htm
http://painting.about.com/od/oilpainting/a/GeraldD_glazing.htm
Back to “Free Tutorials”
Tags: abstract art, abstract art, Art for sale, Art for sale, Art materials, creating, Famous artists, Glazes, jenny davis, Painting, Painting, Painting Techniques, Rembrandt, Uncategorised, Yarra Valley
Posted in creating, Famous artists, Uncategorised | No Comments »
Tuesday, October 4th, 2011
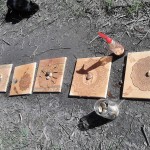
Lately I’ve been experimenting with natural dyeing processes for fabrics and papers. I’m trying out rust dyeing at the moment. I want to build up a collection of natural and rust dyed fabrics and papers so when my next creative spurt comes around, I’ll have plenty to work with.


Over the years I have collected heaps of metal for welding my sculptures so have plenty bits hiding on my property just rusting away. The gathering of the metal objects, wrapping them with the fabric spraying with vinegar and binding with rope and wire is quite relaxing. I call it mummy wrapping.


It only takes a couple of hours for marks to appear but I like to keep mine for up to a week or two so I can get deeper impressions and colours. I discovered if I wrap fabric around old pieces of copper pipe the amazing green and red patinas are transferred to the fabric as well.
I’m happy with the end result and see connections to the abstract marks I create in my paintings. There are paintings in themselves
Go to my tutorial on Rust Dyeing here
Tags: Art materials, artist mayterials, collage, copper pipe, Craft, creating, dyeing, fabric dye, Fabric dyeing, how to, how to rust dye, inspiration, jenny davis, metal, natural dyes, Painting, Recycling, rust, Rust dyeing, rusty fabric, textile art, textiles, tutorial, Uncategorised
Posted in Craft, creating, textiles, Uncategorised | No Comments »
Friday, July 15th, 2011
The Artists are taking over…If you are heading to the Yarra Valley in Victoria, Australia to check out The Archibald Prize at Tarra Warra Museum of Art , don’t forget to pop into the thriving township of Healesville.
Healesville is full of many quaint little cafes, restaurants, bakeries’ hotels, specialist delis, selling local gourmet foods and wines, second-hand /antique shops and eateries.
Recently the artists have taken over the town with the opening of many new spaces and galleries showcasing local artists and artisan’s wares.
One such space is “Artists Lounge” This shop is a real treat. A new corner gallery that has a Contemporary/Industrial feel to it. My favourite thing at “Artist’s Lounge” is the long black chalk wall running right along one side of the building, where you can make your mark amongst the contemporary artworks on display.
Friendly, Ali and Billy who run the space, have jam packed it with unique Contemporary art from the local Yarra Valley artists. You can browse the paintings and sculpture, but there is also an eclectic array of affordable, artsy items created by the artists.
I saw some lovely pieces of wearable art with handmade books, badges, cards, recycled arts, pottery, textile pieces, silk scarves, felting, and jewellery.
For the creative, they also sell high quality artist supplies and gorgeous papers to die for. If they don’t have what you are looking for they will order it for you.
So, grab yourself a cup of Billy’s delicious coffee and soak up the atmosphere and gorgeous things at “Artist’s Lounge” in Healesville
“Artist’s Lounge”
222 Maroondah Highway, Healesville.
Open Wednesday to-Sunday 10.30am -4.30pm
Phone 59625150
Email artistslounge.com.au
Show Map
Tags: abstract art, abstract art, Alternative spaces, Alternative spaces, Archibald Prize, Art Books, Art Books, Art for sale, Art for sale, Art materials, artisan, artists, Artists books, Artists Lounge, artists Lounge, Arts promotion, Arts promotion, australia, contemporary, Craft, creative space, creative space, Exhibitions, Exhibitions, Haelesville, handmade books, Healesville, industrial, Inspiration, jewellery, Painting, Painting, Photography, Photography, Recycled art, Sculpture, Sculpture, tarra Warra Museum of Art, Uncategorised, Victoria, wearable art, Work on paper, yarra valley
Posted in Artists books, Craft, handmade books, Uncategorised | No Comments »
Thursday, July 14th, 2011
WATCH my…
Gleaning Paris for Art Materials video. From the streets of Paris I collect stuff,junk to create with, plus other inspirations behind my ideas. Works in progress from my studio’s in Paris, Spain and Australia. Photos taken in Paris, Spain and Australia.
All artwork copyright to Jenny Davis
Tags: "art materials", abstract art, abstract art, Alternative spaces, Alternative spaces, Art materials, art paris "rubbish spain art" "australian artist" painting, artist story, blog feature, collecting, Collecting, creating, Europe, Hard garbage, inspiration, Inspiration, Installation, Installation, jenny davis, Jenny Davis, jennydavis art, outlook8studio, Paris, Photography, Photography, Reclaimed art, Recycled art, Sculpture, Sculpture, Street art, street litter, Studio, travel, Uncategorised, underground, Video, walking
Posted in artist story, blog feature, creating, Europe, Paris, Reclaimed art, Street art, street litter, Uncategorised, underground, Video | No Comments »
Friday, May 13th, 2011
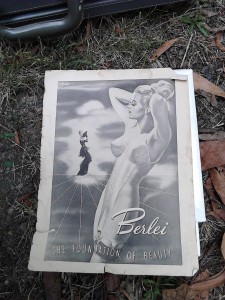
My French son-in-law can be so much fun. When I go over to Paris we both go out and glean stuff off the streets. We do it on foot as we don’t have a car. Usually we leave my daughter at home as she is not as keen as us, to collect what we like. Once we are back at the apartment with our stash, I sift through it and set aside a little to play with and then I send the rest back home to Australia.
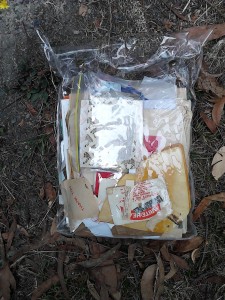
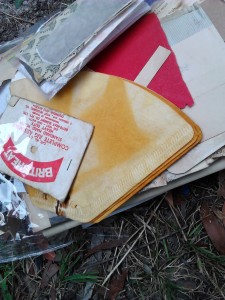
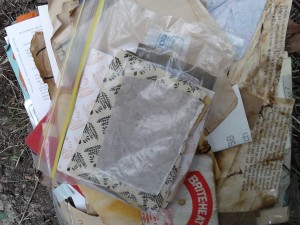
I haven’t been to France for over a year now and today I received a mysterious brown box in the post from Paris.I wasn’t expecting anything so, I was very excited to open it.


I eagerly opened the box and inside was a gorgeous pile of stuff. When I say stuff, I don’t mean glamorous things from Paris, like Loreal , Chanel or Louis Vuitton hand bags. I mean, the box was a treasure trove of French ‘detritus” litter, junk, rubbish. Stuff that usually goes into landfill, stuff gleaned from the streets of Paris. Food packaging, pretty boxes, champagne bottle tops, clothing tags, fabric scraps, glow in the dark bits of plastic, advertising and all kind of paper ephemera plus a replenish supply of baguette bags for my handmade books ….
All this wonderful stuff I reclaim and use in my collage and sculpture.
Merci, Merci , Merci ! Davidx
View my video on “Gleaning Paris for Art Materials”


Tags: Art Books, Art materials, Artists books, Books, boxes, channel, Collage, collecting, Collecting, Craft, creating, Europe, French, Hard garbage, Inspiration, Merci, paper ephemera, Paris, Paris Art, ralph laurence, Recycled art, recycled art, Sculpture, Sculpture, Street art, street litter, Uncategorised, underground spaces, Vintage fabrics, Wine Labels
Posted in Craft, creating, Europe, Paris, Street art, street litter, Uncategorised | No Comments »


