Posts Tagged ‘how to’

The life of an Abstract Painting.

Wednesday, February 27th, 2019

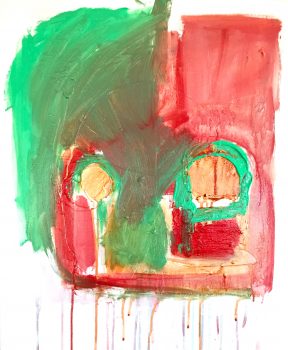
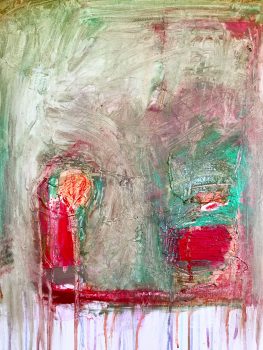
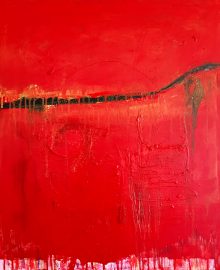
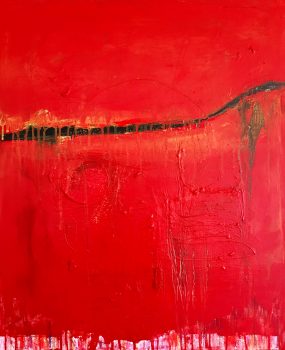
It’s amazing how many stages an abstract painting goes through. Ive had the beginnings of this painting sitting in the studio a few months now. Its only recently, I started to photograph the process of painting. Eventually I want to do time lapse video’s while working, but not sure yet, how I will set up my camera.

I wanted to dirty it up a bit

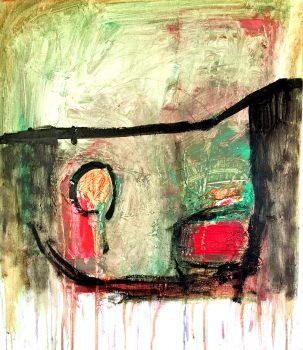
Added some black lines and spaces

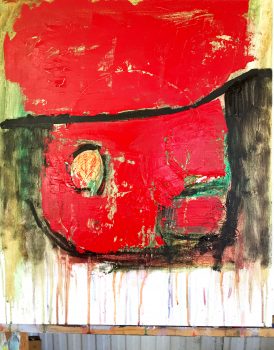
The red slowly crept in

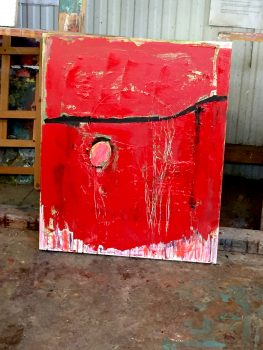
More drawing with oil pigments below and the circle was bothering me so I took a risk and blocked it out with red. And that’s what its all about. Taking risks, going along with whatever comes along and using your gut feeling.

I’m pretty happy with the results but will sit with it for a while, before I touch it or, leave it alone. It’s only afterwards, I’ll see connections and links to the context or meaning. Sometimes though this happens when doing, but mainly it’s a play with colour, line and space and knowing when it’s resolved.

Homemade Gesso Paint!

Saturday, November 18th, 2017

I love Gesso paint and use heaps of it in my work. It’s gritty, chalky and can be applied to artwork to give a translucent or opaque look. It’s also very expensive so I decided to make my own.


Gesso is used for many things such as a primer for canvas or on paper to give a good base for painting, drawing or mixed media work.  When making collage I use it as a gluing medium to stick on papers, in-between, painting and drawing layers.

The recipe below makes 2 litres of Gesso paint

( If not using straight away, this Gesso will last approx. 4-6 weeks)

Homemade Gesso

PLASTER MIX

1 cup Plaster of Paris or fine white plaster powder

1 cup of PVA or white glue

1 cup hot water

PAINT

3 cups white acrylic paint

UTENSILS

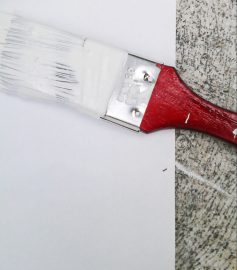
Container, cup and mixing stick or spoon

RATIO: 1-3

Plaster Mix 1 – Acrylic paint 3

Method

To make the plaster mix. Add the plaster to the hot water and stir ( Safety purposes: always add the plaster powder to the liquid, not liquid to plaster, as it will blow up into your face and always wear a dust mask)

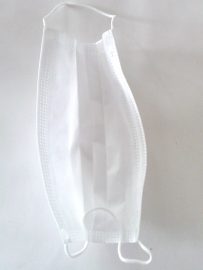
Dust Mask

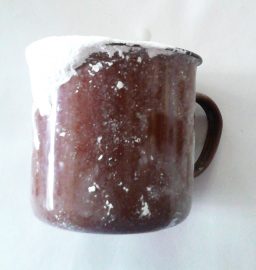
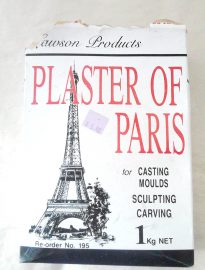
“Plaster of Paris” and cup

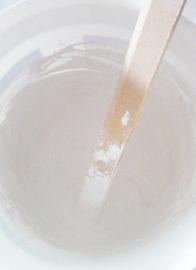
Hot water and mix

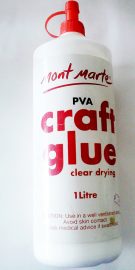
Next add the PVA or white glue, stir.

Finally add the white acrylic paint and mix. ( I used some acrylic powder paint I had and made it up with water) You can use any kind of acrylic paint or colour .


Result

I was very happy with the result. The gesso is translucent with the gritty bits I like. You can also do several layers of gesso to give a more opaque appearance. It covered my canvas very well with only 1 coat. When adding more than 1 coat you can sand in- between to give a really smooth surface for detailed work .

2 litres of Gesso

Gesso on stretched canvas

Gesso on paper


To see this and more of my free tutorials, please go to  Tutorials I even show you how to make my large studio easel.


How to make Collages from Old Damaged Books.

Wednesday, August 9th, 2017

Re: Artwork & Article Published in US. Magazine.

Vintage Pulp

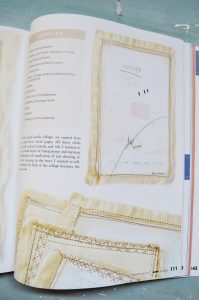
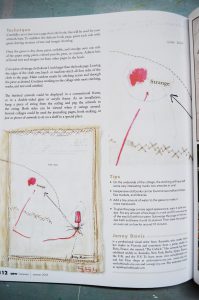
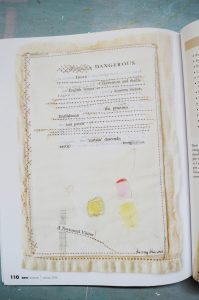
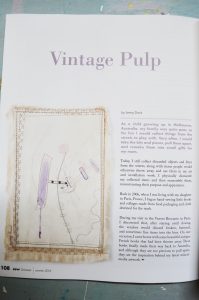
As, mentioned in an earlier post , (Vintage Pulp Fiction Collages) here are some photos of my published article last year, in “Sew Somerset Summer 2016” magazine. (Now Sold Out) I have also included below, how you can to make your own mixed – media collage and drawings from damaged books. I get really addicted to making these little artworks and love reclaiming, tattered books, destined for the garbage, giving them a new life.

Supplies:
 

Supplies:
Damaged vintage “Pulp Fiction” books, or any other book
Acrylic gesso paint.
Coloured pencils, pens, inks, crayons etc. (I wouldn’t use felt pens as they might seep through)
Vintage fabric. (Damaged, stained, vintage tablecloths, tea towels, even old doilies)
Glue stick
Needle
Threads (any colour)

Equipment
Cutting mat
Box knife or scalpel
Scissors
Sewing machine (Optional)
Small cheap paint brush or, sponge brush
A few rags for wiping paint or glue

Instructions
Carefully cut or tear out a page from the book. This will be used for your artwork base.

To stabilize the delicate book page, paint each side with acrylic Gesso paint, leaving sections of text, and images showing.

Now for the fun part. Once the Gesso paint is dry, draw, paint, scribble and smudge, onto one side of the paper only. You can use paint, coloured pencils, ink, pens etc. Start gluing on bits of found text and images, cut from other pages in the book. It doesn’t have to make sense. It’s fun creating nonsense “gibber jabber”

Next, cut a piece of vintage cloth, about 1 inch – 2cm. larger, than the book page.

Leaving the edges of the cloth raw, hand or machine stitch the cloth to the page, on all 4 sides. Without being too precious, make random marks, by stitching and detouring across and through the piece, as you like.

Continue working on the collage with more stitching, marks and text, until satisfied.

Note: On the underside of the collage the stitching will have left some very interesting marks. Two artworks in one!

Displaying your artwork

The finished artwork could be displayed in a conventional frame, or in a double sided, glass or acrylic frame. As an installation, hang a piece of string from the ceiling and peg the artwork to the string. Both sides can be viewed when it swings around. Several collages could be used for journal pages, book making, or just as a piece of artwork to sit on a shelf in a special place.

Tips

Using damaged vintage books and vintage fabrics, adds to the character of the artwork and saves it from landfill.

Collect found papers, textile scraps and text to make collage.

Old books can be found cheaply, from second-hand shops, flea markets and library throw outs.

A sharp scalpel is very good for cutting close to the book spine.

Add a tiny amount of water to your Gesso paint to make it more translucent.

To give your page a more aged appearance, stain with a tea dye. Put any amount of tea bags in a sink, 1/4 filled with hot water. Plunge and leave until stained, then bake the page in a low oven for around 10 minutes.

Hope you enjoy creating your collage.
 

Handmade Books. Recycling.

Monday, April 14th, 2014

Jenny Davis_ Handmade Book

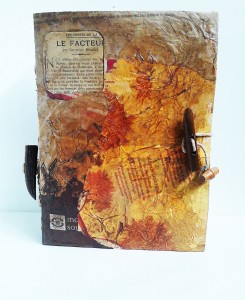
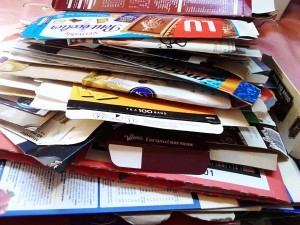
I love to recycle packaging, junk mail and advertising materials into books


Jenny Davis_ Handmade Book

I like the freedom of designing my books as I make them, discovering ideas along the the way


Jenny Davis_ Handmade Book

Its amazing how much packaging can be saved over time


IMG_20140406_121440


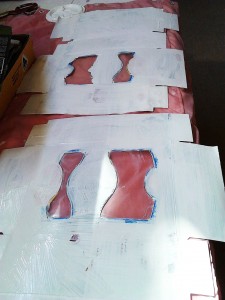
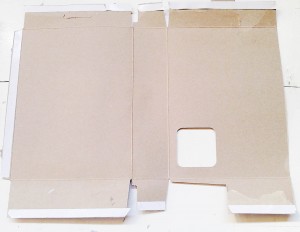
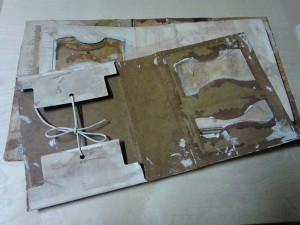
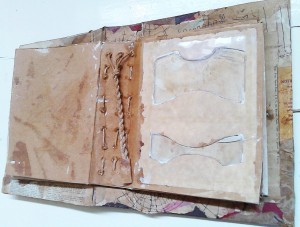
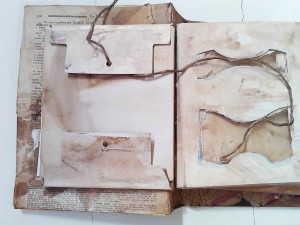
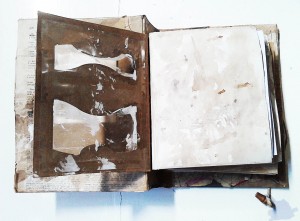
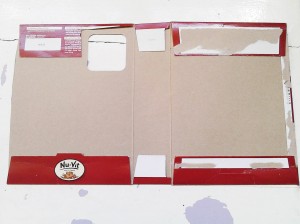
For this book I used cereal packaging with a peephole and pasta boxes with acetate windows for the interior pages


IMG_20140406_121502


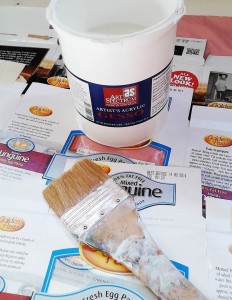
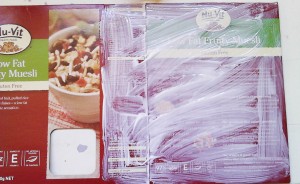
and sealed the pages with white Gesso


IMG_20140406_122849


only on one side because I liked the dark look of the cardboard ( later I painted them with Parisian essence to age )


IMG_20140406_124206


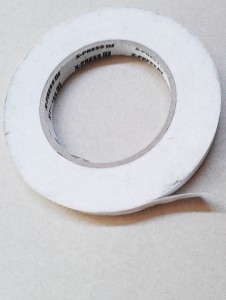
On the cover I used double sided tape to stick down the tabs


IMG_20140406_124413


to make it more sturdy


IMG_20140406_124709


The little window will have something inside


IMG_20140406_124927


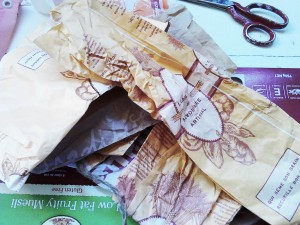
Taking a load of baguette bags I bought back from France


IMG_20140406_125201


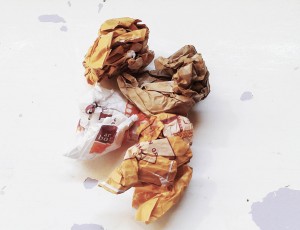
I scrunched them up into balls and wrinkled them


IMG_20140406_125243


opened them up and stuck them to the cover packaging with pva glue


IMG_20140406_125609


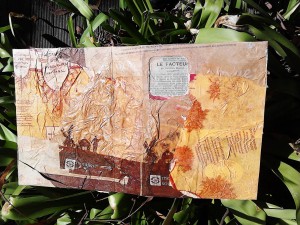
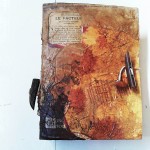
This gave the cover an oldish feel with a lovely rough texture.French text shows through the window


Jenny Davis_ Handmade Book


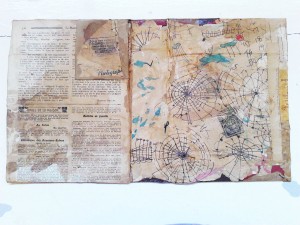
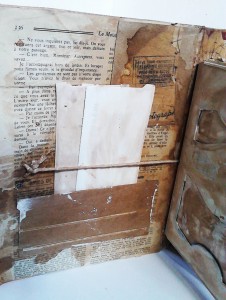
I covered the inside with some French text from a 1900’s magazine, stamping and my hand drawn doodle drawings.


Jenny Davis_ Handmade Book


I didn’t like the brightness of the gessoed pages so aged them with washes of Parisian essence


IMG_20140406_143944


IMG_20140406_143954


When dry I cut off some of side flaps from the inside pages saving them for tags and pockets later


IMG_20140407_105942


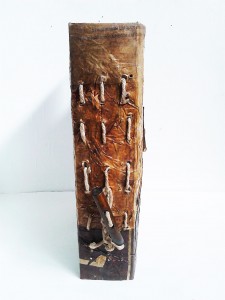
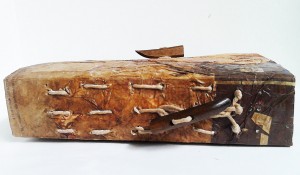
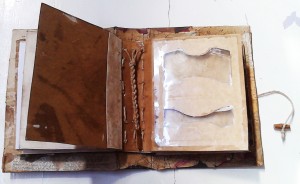
I didn’t have an awl to make the holes for binding the book, instead I used a hammer and nail. It worked fine


IMG_20140406_184232


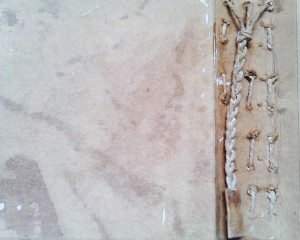
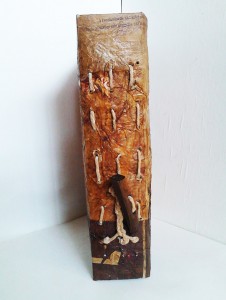
I punched 3 rows of holes weaving in and out with cotton mop thread


IMG_20140407_110043


leaving a tail inside I then plaited the threads and added a piece cardboard for a bead thing


IMG_20140407_110316


The extra holes seen were a mistake and can be covered up with more baguette paper and glue later


Jenny Davis_ Handmade Book


Jenny Davis_ Handmade Book


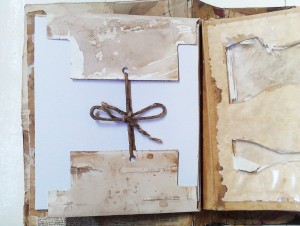
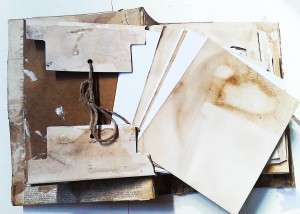
Side flaps on some of the pages hold piles of water colour papers for collage and drawing


IMG_20140414_122959


They are tied with cotton mop thread


IMG_20140414_122913


The loose water colour papers are white and hand dyed with Parisian essence


IMG_20140414_122839


See through windows add more interest


Jenny Davis_ Handmade Book


Jenny Davis_ Handmade Book


Pockets and string hold found papers and tags. The book is still not finished and I will probably add more tags and pockets


Jenny Davis_ Handmade Book


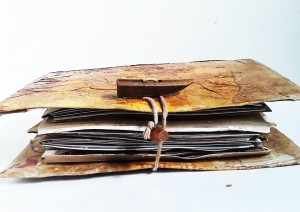
Toggles were sewn on the front with a string to close


Jenny Davis_ Handmade Book

This book has a Japanese feel to it and measures 24 x19cm. 5 pockets hold 40 pieces of water colour paper with another 12 pages. Some have windows.

I try to keep on top of my collecting by making something with the packaging every few weeks.

What do you make from your junk?

Homemade Gesso!

Thursday, January 16th, 2014

Update 2018! Since writing this recipe in 2014, Ive been using this homemade Gesso recipe, for 14 years now and haven’t had an issue, with ageing, layers coming apart, seepage, changes in colour etc. on any of my artworks. I use it with both oil and acrylic paints. I also seal my papers with it when, making books, sewing on paper, paper for collage, painting with paint, inks etc. As to the quality, I find the homemade isn’t as white, but just as good quality, as professional artists Gesso. I also use store bought gesso too, if I’ve run out and for convenience. My version is more gritty, than store bought, but if you sandpaper in between coats, I find it’s not an issue. For me, this recipe is just as good as, the store bought and if you use archival PVA/Elmers glue, it will make it all the more stable, for longevity.

Homemade Gesso!

I love Gesso paint and use heaps of it in my work. It’s gritty, chalky and can be applied to artwork to give a translucent or opaque look. It’s also very expensive so I decided to make my own.


Gesso is used for many things such as a primer for canvas or on paper to give a good base for painting, drawing or mixed media work.  When making collage I use it as a gluing medium to stick on papers, in-between, painting and drawing layers.

The recipe below makes 2 litres of Gesso paint

( If not using straight away, this Gesso will last approx. 4-6 weeks)

Homemade Gesso

PLASTER MIX

1 cup Plaster of Paris or fine white plaster powder

1 cup of PVA or white glue (archival if available)

1 cup hot water

PAINT

3 cups white acrylic paint

UTENSILS

Container, cup and mixing stick or spoon

RATIO: 1-3

Plaster Mix 1 – Acrylic paint 3

Method

To make the plaster mix. Add the plaster to the hot water and stir ( Safety purposes: always add the plaster powder to the liquid, not liquid to plaster, as it will blow up into your face and always wear a dust mask)

Dust Mask

“Plaster of Paris” and cup

Hot water and mix

Next add the PVA or white glue, stir.

Finally add the white acrylic paint and mix. ( I used some acrylic powder paint I had and made it up with water) You can use any kind of acrylic paint or colour .


Result

I was very happy with the result. The gesso is translucent with the gritty bits I like. You can also do several layers of gesso to give a more opaque appearance. It covered my canvas very well with only 1 coat. When adding more than 1 coat you can sand in- between to give a really smooth surface for detailed work .

2 litres of Gesso

Gesso on stretched canvas

Gesso on paper


Update 2018! Ive been using this recipe for 14 years now and have had no issues with ageing , seepage. I use it with oil paintings and acrylic artworks. I also seal my papers with it when making books, sewing paper for collage, painting with paint, inks etc.
 

“How to pack your artwork for transport”

Friday, September 21st, 2012

How to pack your artwork for transport.

Packing your artwork for transport can be a very daunting task. Your precious artwork must be wrapped in a professional way, so it arrives at it’s destination, without being damaged in anyway.

Very early in my art career, I sent some small paintings overseas for an exhibition. I thought I had done really well in packaging them for the journey. I started with a layer of acid free tissue paper, bubble-wrap, then into a box.

On return to Australia, I unwrapped the paintings and couldn’t believe it. Two of the paintings were embedded with bubble-wrap dots from the high temperatures in travel.
Today, I use many, many layers of acid free tissue, rigid card back and front, cardboard corners then, I wrap the whole artwork with bubble- wrap and put the parcel into my sturdy custom – made art boxes .
An excellent article and well worth the read How to pack your artwork for transport

Back to “Free Tutorials”

Make a Large Studio Easel in 6 Easy – Peasy Steps

Saturday, February 4th, 2012

IMG_20150520_115511


How to Make a Large Studio Easel in 6 Easy- Peasy Steps

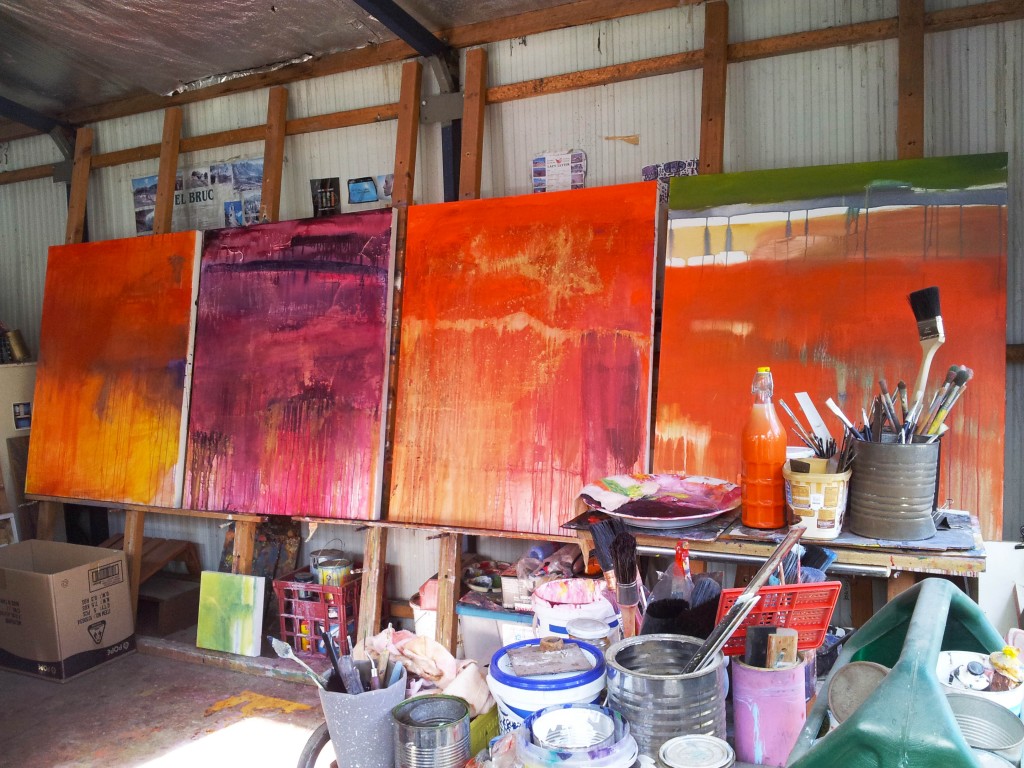
When I built my studio years ago, I needed to have a versatile easel. I couldn’t find anything suitable in the shops and my budget wouldn’t allow for much.  So, I went about creating one from my left over pieces of timber. I needed one that would take small to very large canvas’s all at once. I needed lots of space too. Being an abstract painter, I slosh paint and work very quickly, sometimes on many canvas’s at once. I wanted a permanent spac,e where I could work on small canvas’s 30x30cm up to very large ones 4 x 2 Meters . My easel ended up being 9 meters long x 4 meters high and after 12 years of daily use, my rough and ready easel is still going strong.
My simple Plan

Materials & Equipment

Cut yourself, or buy 2 equal lengths of  hardwood or pine, however long you want the easel to be. This is for the floor and wall runner that will hold all the upright struts.

Cut yourself, or buy equal lengths of hardwood or pine for the uprights. Decide how many uprights you want to hold your canvas .To get the length of each piece , measure from floor to top wall at the angle you want the easel to be.

Bolts, nails or screws

Wooden dowel lengths of wood for pegs

Drill with a “spade” drill bit the same circumference as the dowel pieces you have

(Spade bits are used for rough boring holes in wood.)

Tape measure

Hammer

Drill

Method

1.Everything will need to be measured and cut for the area your are working on.

2. Grab the floor runner piece, lay it perpendicular to the wall on the floor, judging the best space between the floor runner and the wall . Screw, bolt or nail to the floor at intervals to secure. (Note) Remember to allow enough space from floor runner to wall for a slight angle for the upright pieces of wood so your painting canvas can to sit without falling

3. Grab the wall runner piece and screw, bolt or nail to the upper wall at intervals and make secure.

4. Lay all your upright pieces of wood together on a flat surface together (floor )and take your drill with the spade bit and make holes from bottom to the top on all the lengths of wood. The spacing has to be equal across the whole lot.

(If painting the easel do this now before attaching to wall)

5. Take your pre- cut lengths of wood with the holes and sit each one so the bottom is sitting behind the attached floor runner and at the top against the wall runner with the holes facing you. Screw bolt or nail the upright struts to the floor runner and to the wall runner at top. (Note) Go along the floor runner at whatever spacing you want with the upright struts to be.

Almost done. Cut lengths ( 6inches) of dowel for the pegs that will hold all your canvas’s

Note: If the pegs don’t fit in the holes… Round off one end with sandpaper by hand, or with an electric sander.

All done!!!  Now grab your canvas and paint to your hearts content

How to Rust Dye Fabric.

Tuesday, October 4th, 2011

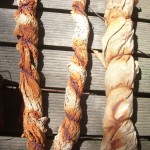
Lately I’ve been experimenting with natural dyeing processes for fabrics and papers. I’m trying out rust dyeing at the moment. I want to build up a collection of natural and rust dyed fabrics and papers so when my next creative spurt comes around, I’ll have plenty to work with.

Over the years I have collected heaps of metal for welding my sculptures so have plenty bits hiding on my property just rusting away. The gathering of the metal objects, wrapping them with the fabric spraying with vinegar and binding with rope and wire is quite relaxing. I call it mummy wrapping.

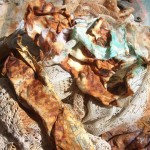
It only takes a couple of hours for marks to appear but I like to keep mine for up to a week or two so I can get deeper impressions and colours. I discovered if I wrap fabric around old pieces of copper pipe the amazing green and red patinas are transferred to the fabric as well.

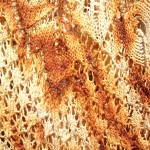
I’m happy with the end result and see connections to the abstract marks I create in my paintings. There are paintings in themselves

Go to my tutorial on Rust Dyeing here